Fermentation is so much fun but it can also be daunting! You don’t want to do the wrong thing and make yourself sick, but you definitely want the amazing benefits that homemade ferments have to offer.
Fear not, fermentation isn’t nearly as scary as it seems. Once you get the hang of it you’ll be hooked. Making your own ferments is an art, because no matter what you do every batch will turn out unique from the last.
What will you find in this article?
The Basics of Fermented Vegetables: Salt + Vegetables + Environment
The role of salt is both protective and purposeful. It protects against harmful bacteria while also stimulating osmosis. In order to make ferments like sauerkraut, salt is needed to draw the liquid out of the cabbage so that it has a brine to make magic in.
A common mistake beginners make is to not leave enough liquid above the vegetables to protect them from the elements of the outside world. I like to make a separate brine of 1 tsp. sea salt to one cup of water and add some on top of my packed down vegetables.
Every fermented food relies on the same principles of salt, vegetables and an environment free from oxygen so those healthy bacteria can grow.
Basic Sauerkraut Method
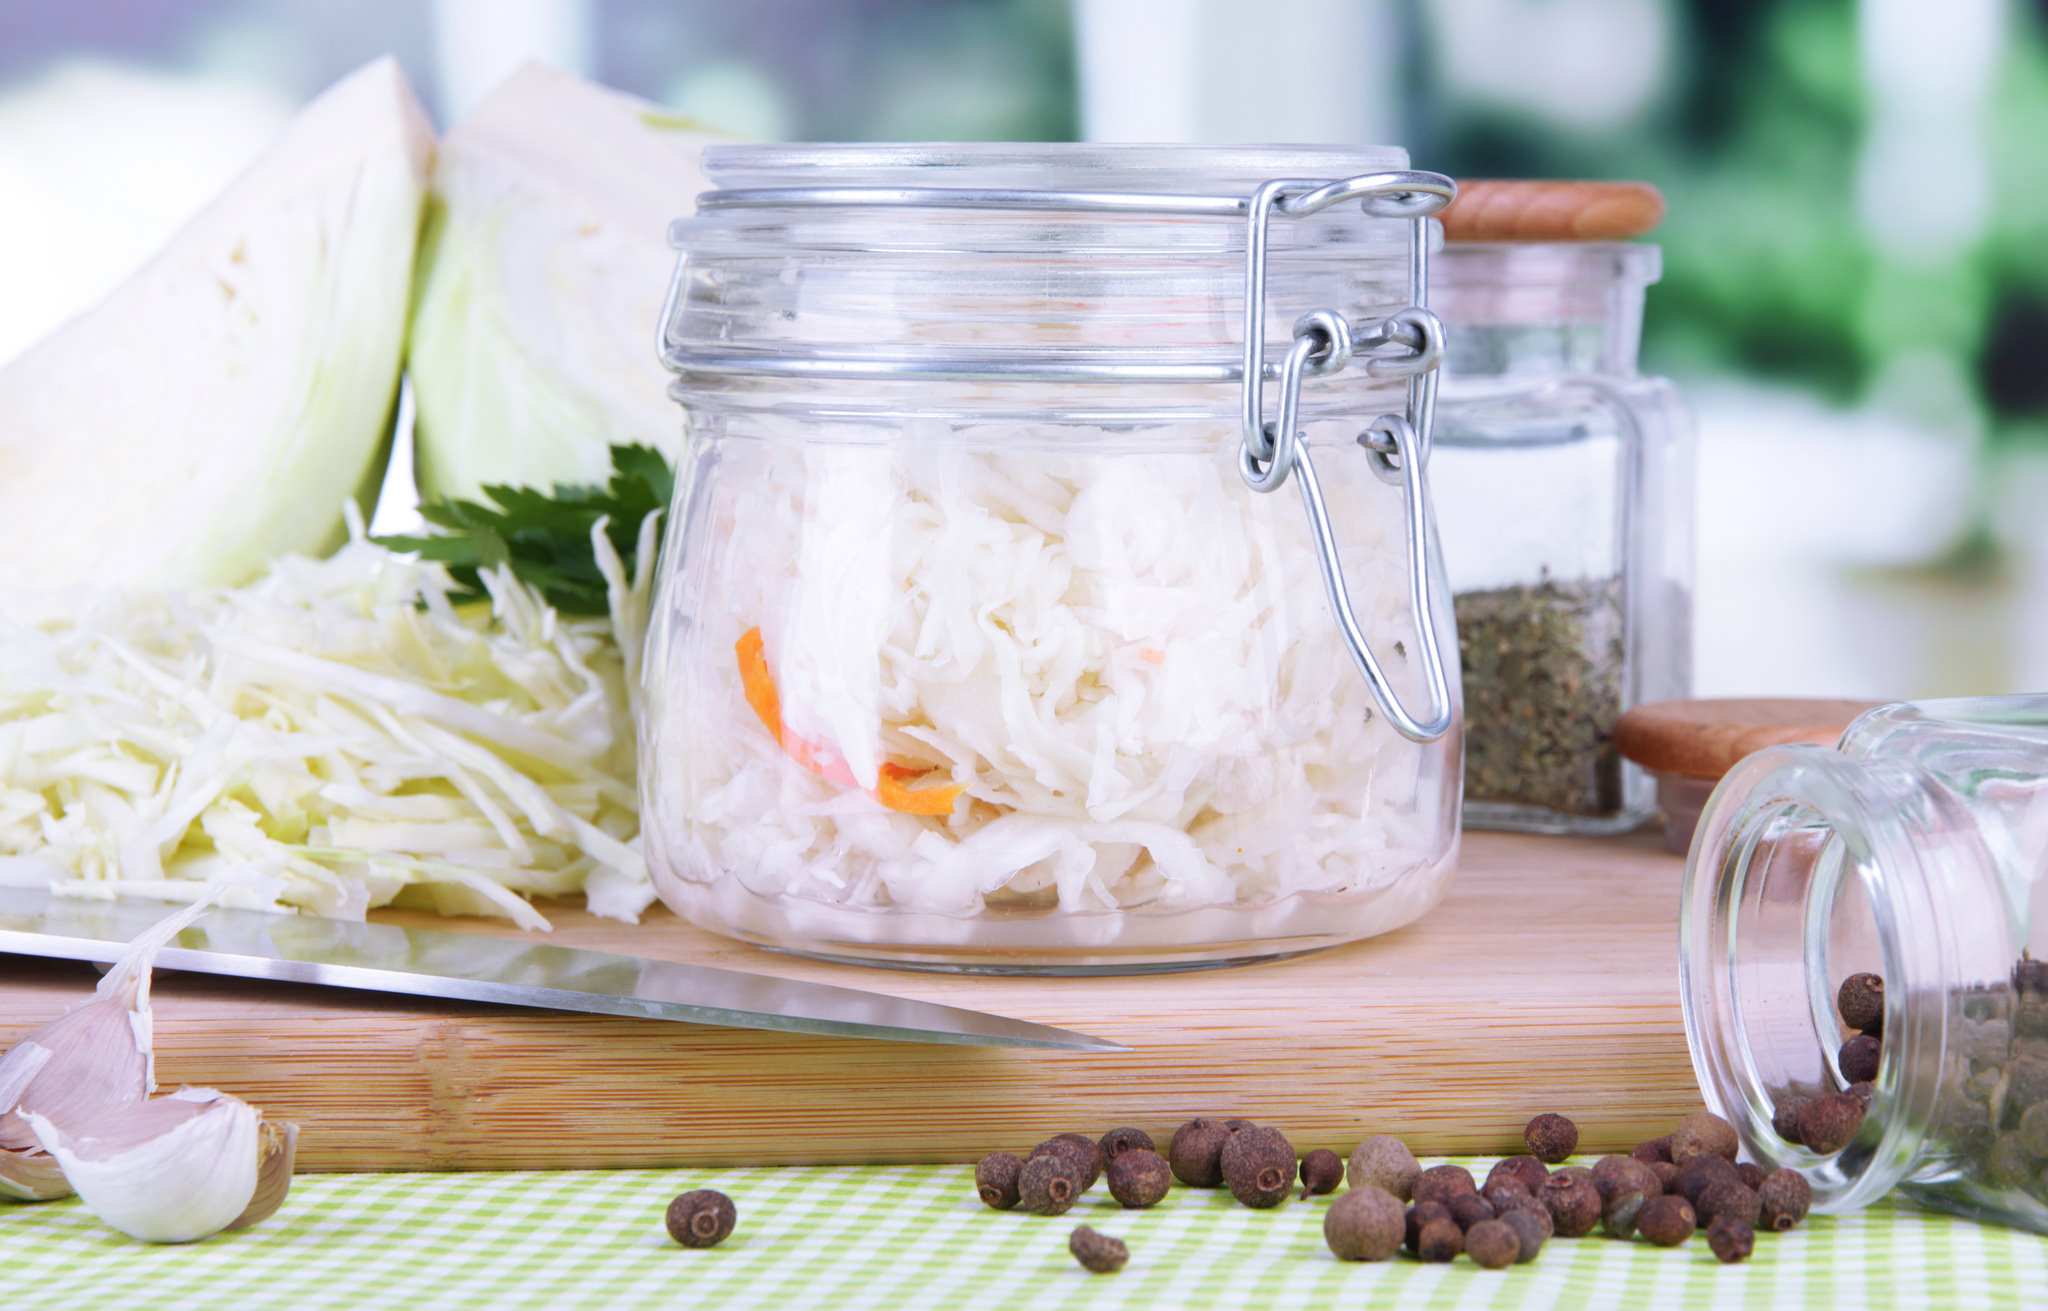
The easiest way to get started is with this basic method. You can alter it by adding spices, different vegetables, garlic, ginger, green onion, carrot etc. Get creative!
Ingredients:
- One head of cabbage approx. 5lbs
- 3 Tbsp sea salt or other non-iodized salt
- Spices, garlic, ginger, or other vegetables you want to add
Method:
- Chop the cabbage finely, you can use a food processor, a mandolin or do it by hand.
- Liberally coat the cabbage with salt and let it sit for a few minutes.
- Mix, pound and squeeze the cabbage to get as much water out of it as possible.
- This is when you would add your other vegetables and spices.
- Stuff mixture into mason jars. Push it down as much as you can to get rid of any air bubbles and make the salty brine rise to the surface. You want at least an inch of water above your vegetables at all times.
- You can use a weight to keep the kraut submerged. Some people used the actual “butt” end of the cabbage itself, a clean rock, or you can get fancy and buy a proper fermentation weight.
- Check your kraut every few days to ensure it’s still submerged.
- Let it ferment to your liking, I usually let mine go for 2 weeks to a month before popping it in the fridge.
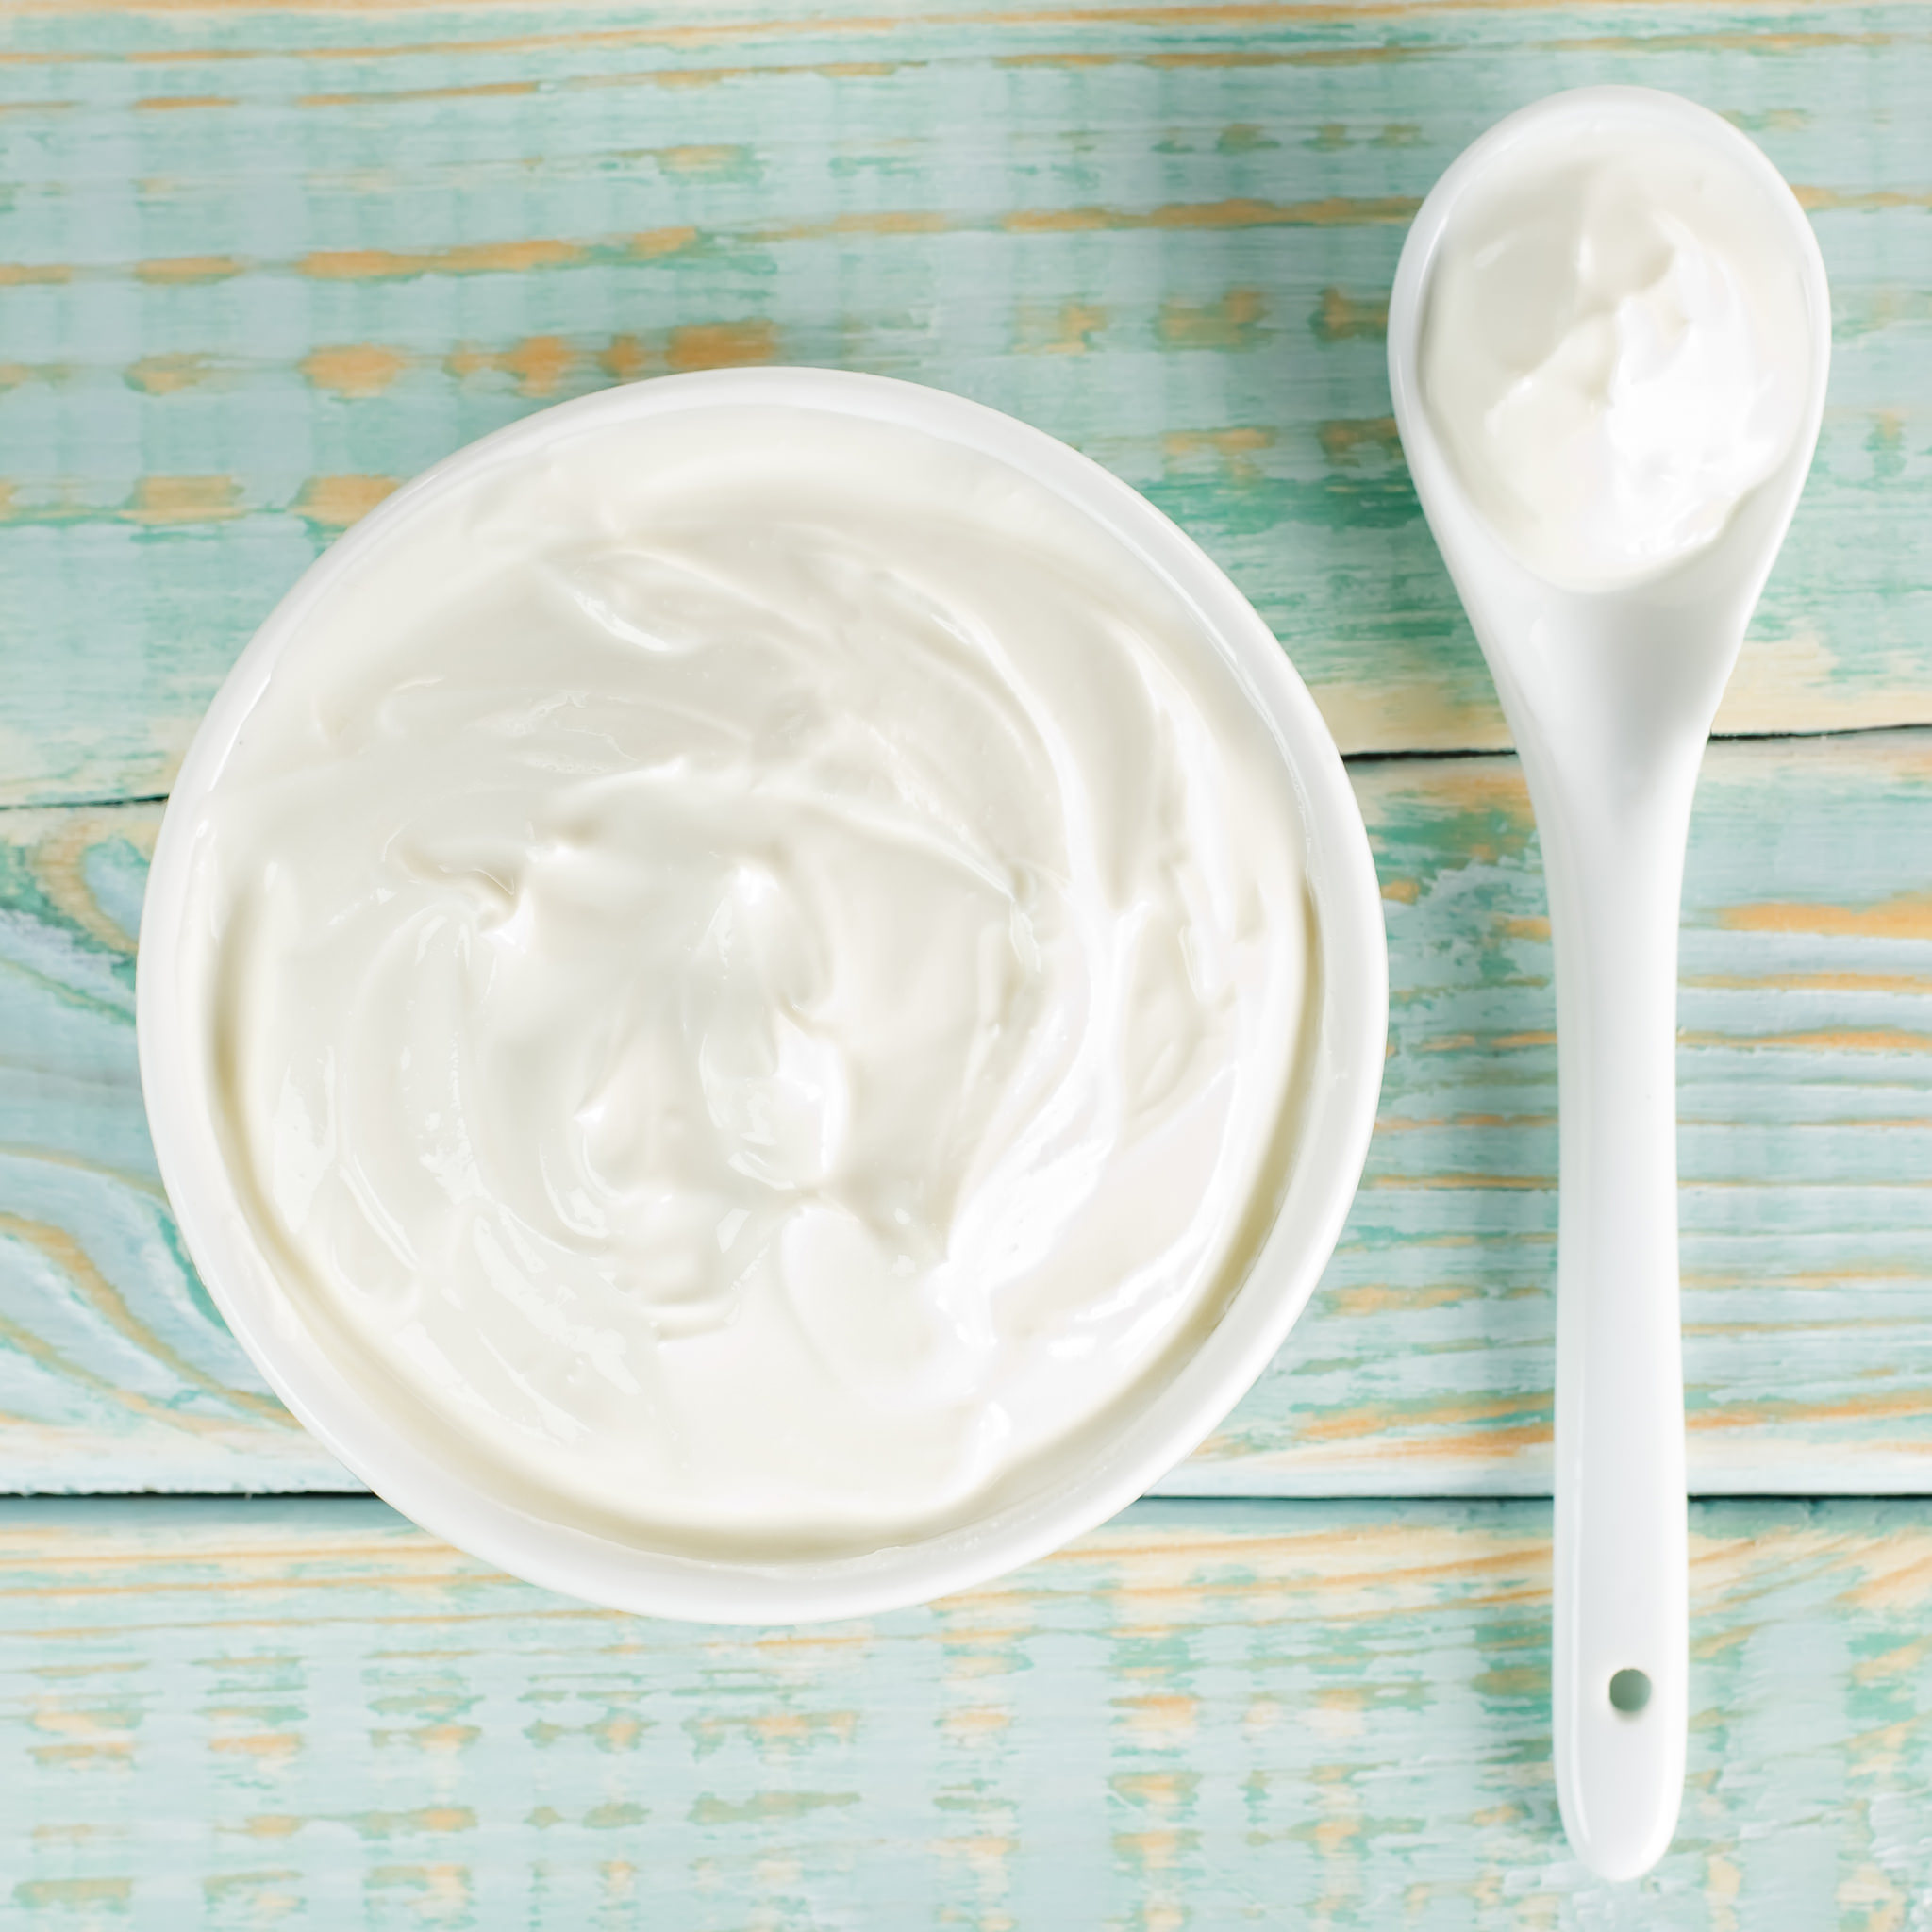
Coconut Yogurt
Ingredients:
1 can coconut milk (BPA-free can)
1 probiotic capsule (at least 50 billion)
Method:
- Refrigerate the coconut milk for about an hour while it is still in the can to create a thicker yogurt.
- Next, remove the coconut milk from the can, and place it in a sterilized jar. Add the contents of the probiotic capsule. Mix the contents well, and tightly close the jar.
- To incubate the yogurt, place your jar of coconut milk in the oven with the light on and tightly close the door. Do not turn the oven on. A closed oven with the light on generates heat of about 105 to 110° Fahrenheit. Incubate your yogurt for up to 24 hours.
Water Kefir
Water kefir is gluten and dairy free and possibly one of the easiest cultured foods to make.
The benefits of water kefir are:
- Cleansing effects on the intestines
- Excellent source of B1, B6, B12
- Contains anti-fungal and antibiotic properties
- Contains aminos, minerals and vitamins
- Boosts the immune system
- Normalizes and resets the metabolism
- Supports skin issues such as eczema, psoriasis and acne by improving gut health
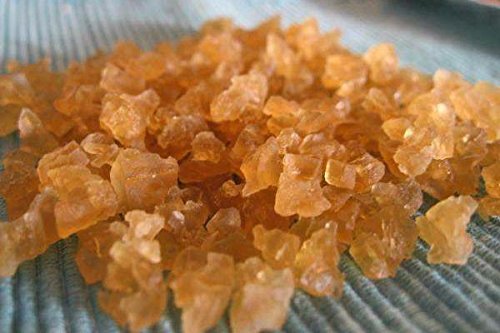
To get started:
- Order your kefir grains. You can buy fresh or dehydrated water kefir grains. I prefer fresh kefir grains (which you do not need to rehydrate).
You will need the following tools and ingredients:
- 1.5 litre glass jar
- Plastic strainer
- Wooden or plastic spoon
- Organic sucanat* or rapadura sugar
- Water (spring water/non-chlorinated water)
- Water kefir grains
NOTE about the sucanat/rapadura (sugar): the grains will consume most of the sugar, leaving the amount of sugar equal to a piece of fruit. The longer the drink ferments the less sugar it will contain.
Ingredients:
- ¼ to ½ cup of hydrated or fresh water kefir grains
- ¼ cup sucanat or rapadura sugar
- ¼ lemon (Peel zest from non-organically grown fruit)
- 750ml spring water/non-chlorinated water
Method:
- Add the water to a jar and dissolve the sucanat/rapadura. Add the lemon.
- Add the water kefir grains. Stir with a non-metal spoon as the metal will damage the grains.
- Seal the jar airtight and let stand at room temperature for 2 days. Stir the contents after 24 hours and as often as you like.
- Strain the contents and squeeze lemon into liquid, fill bottles with the water kefir and seal airtight. (Discard lemon.)
- Place the water kefir grains in a bowl filled with fresh water, stir, then strain.
- Repeat the above for each new batch.
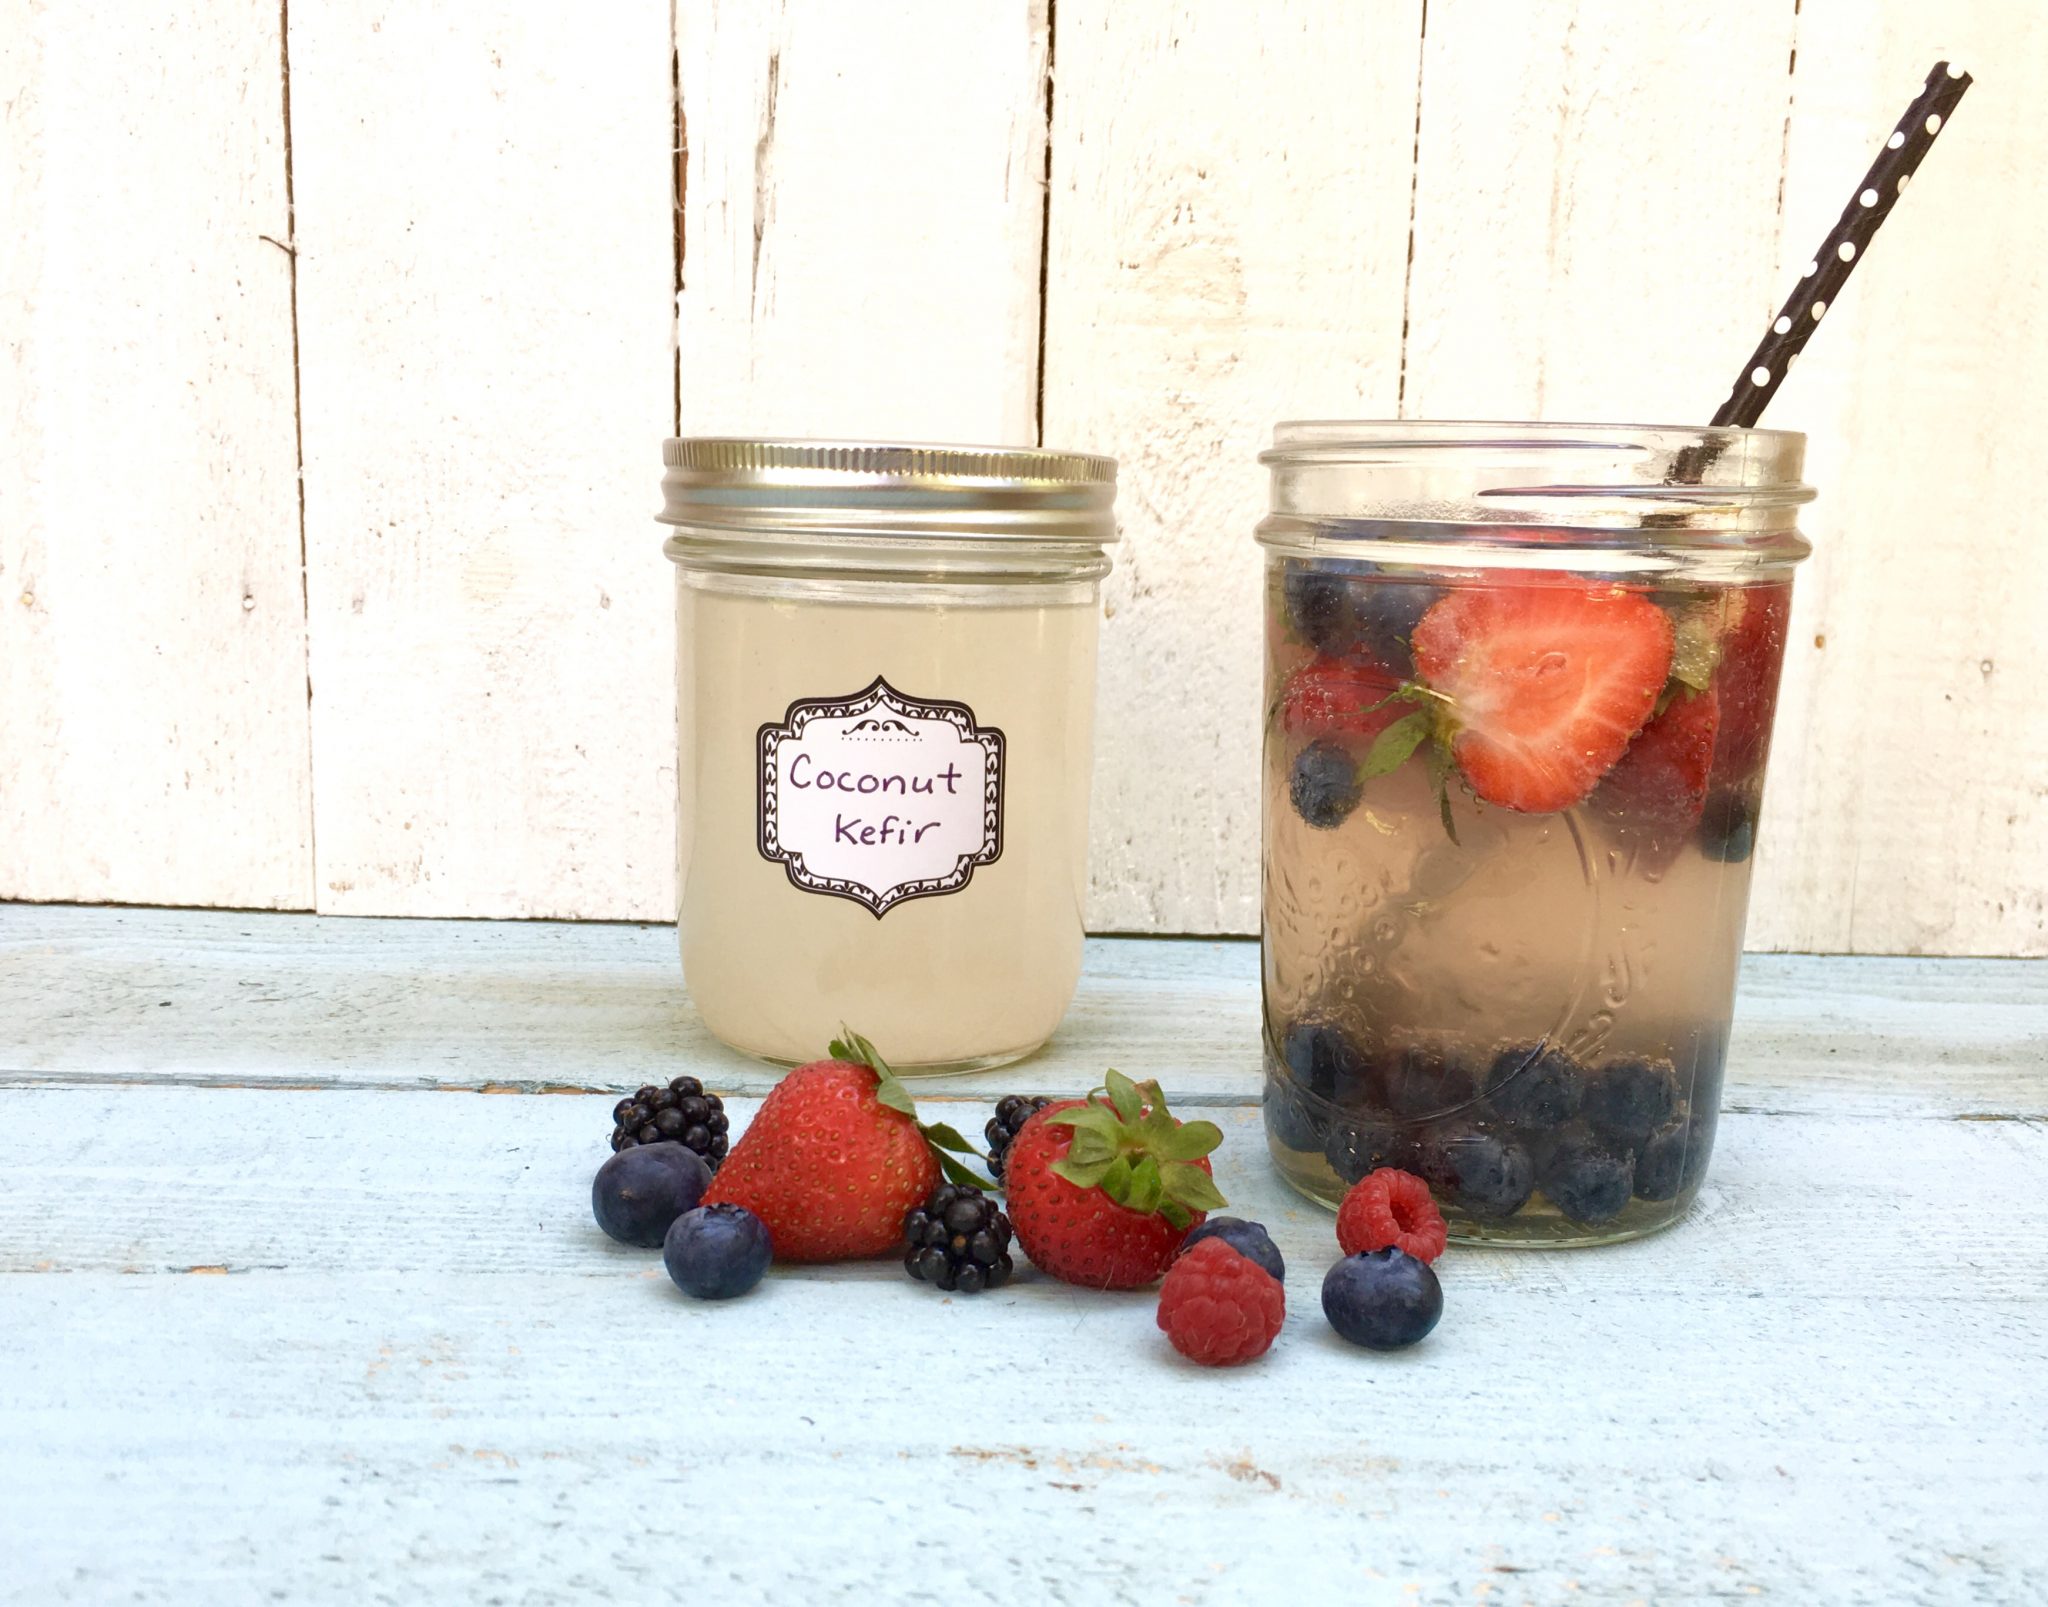
Coconut Water Kefir
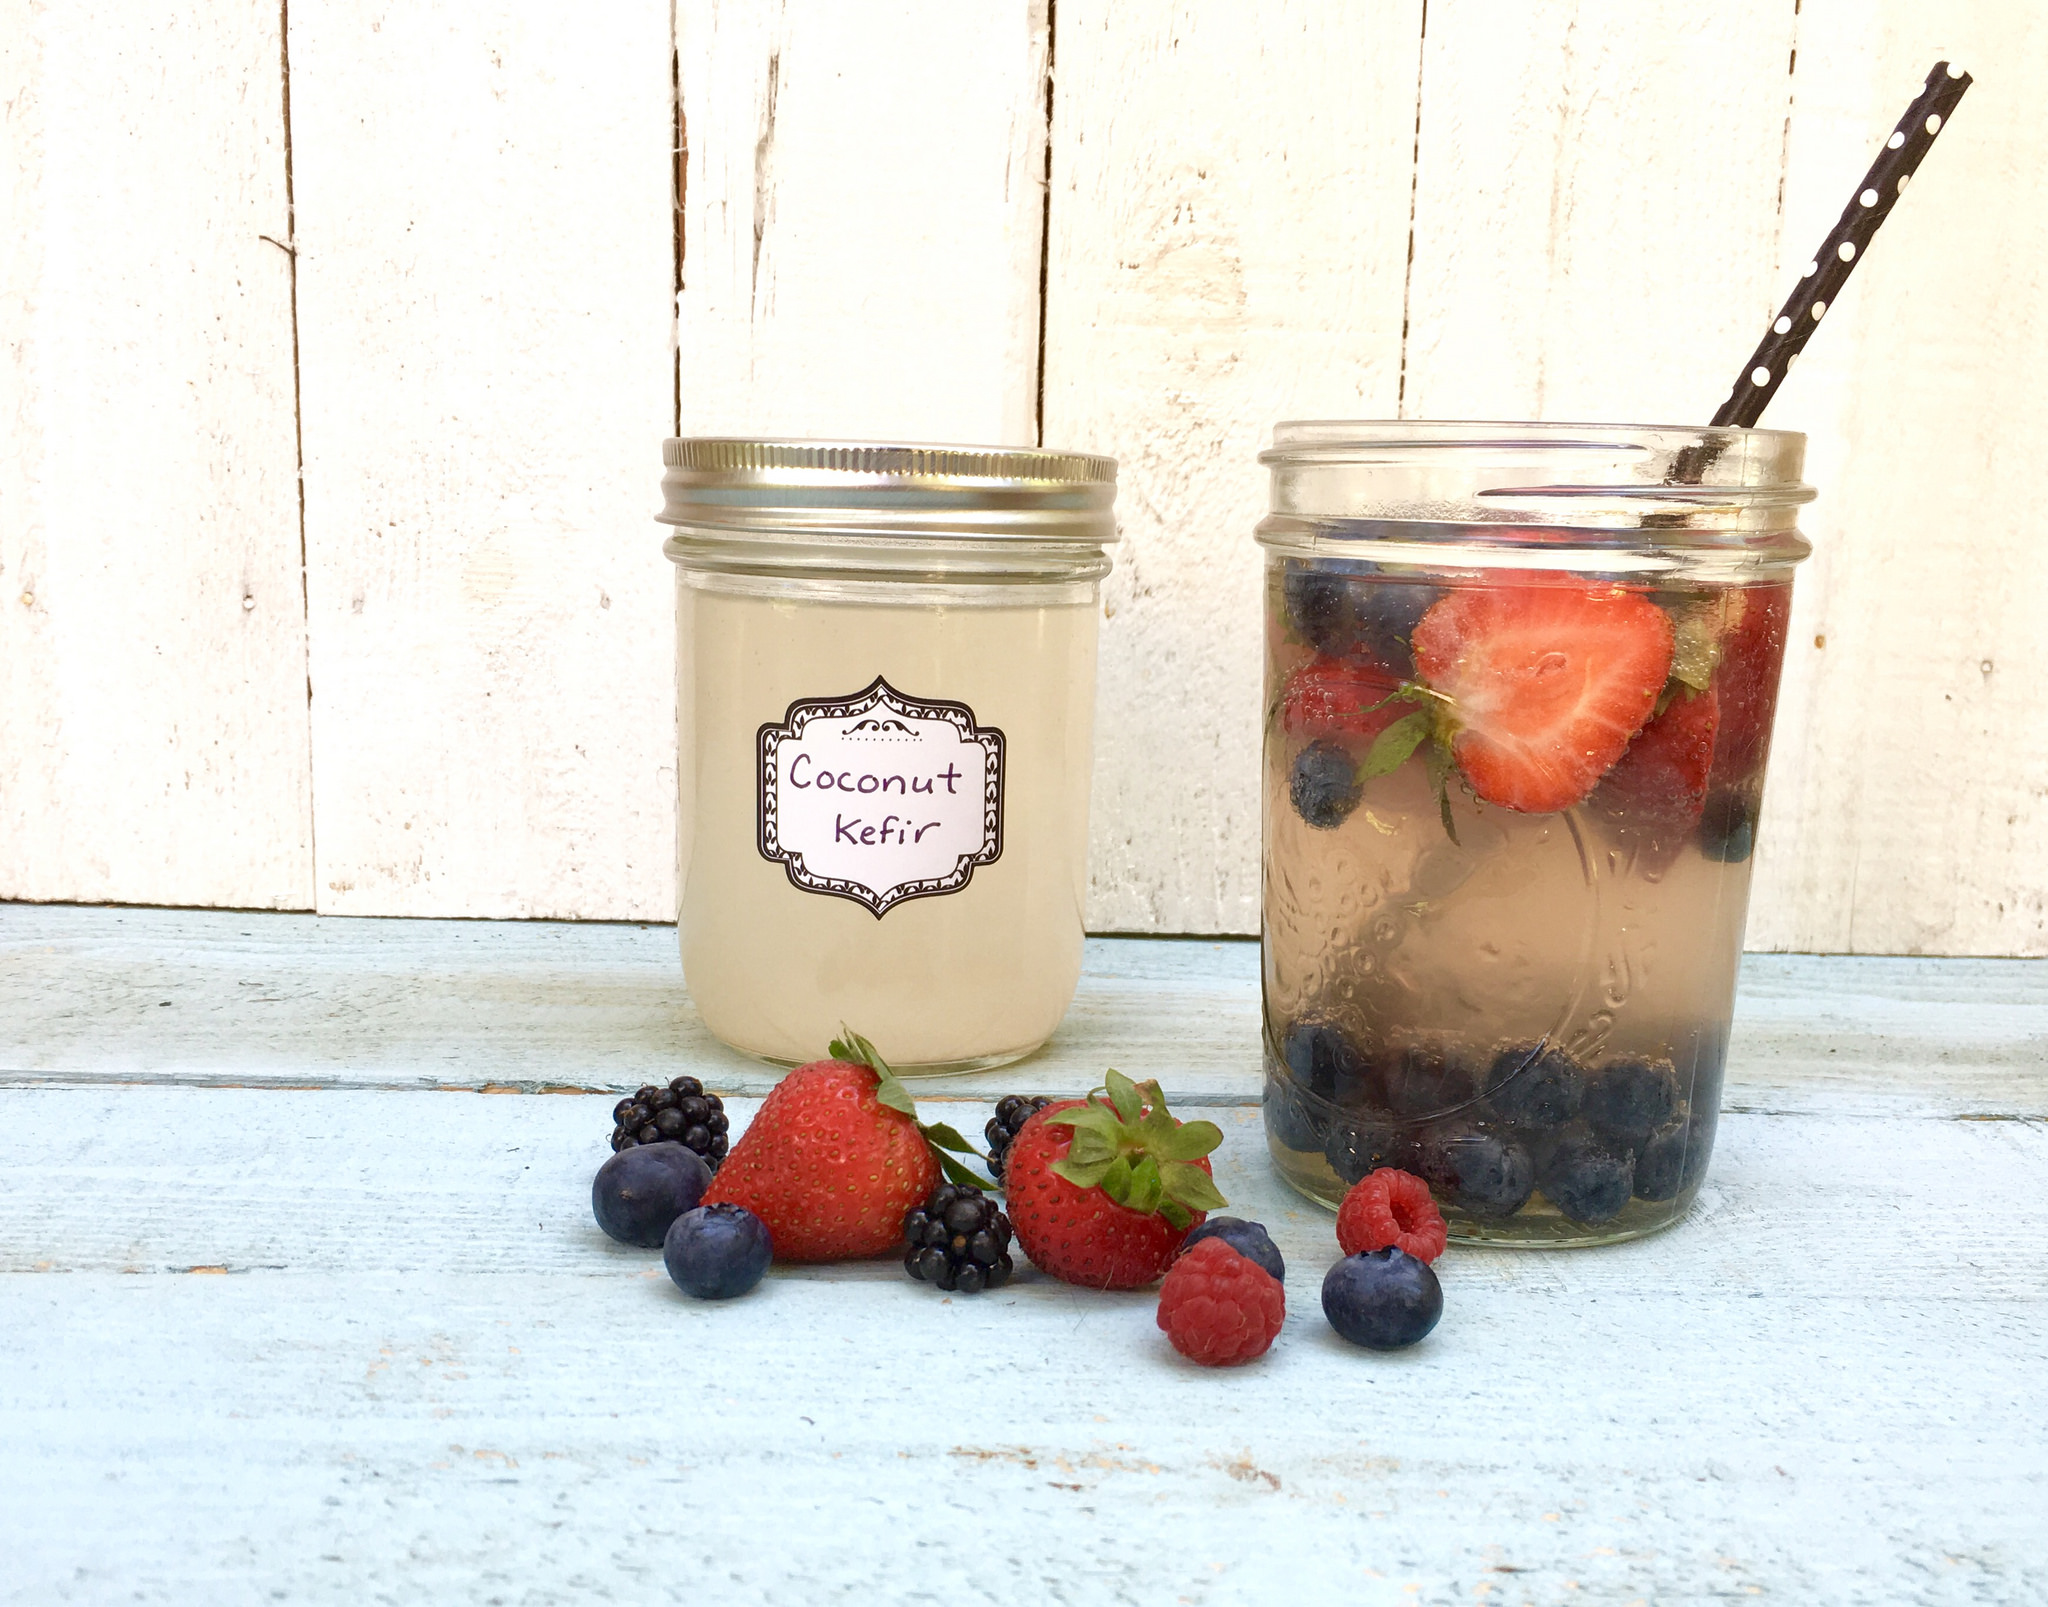
Makes 1-4 Servings
Items you will need:
- 4-cup glass jar with wide opening and strong screw cap or swing-away lid
- 1/2 cup water kefir grains
- 2 to 4 cups fresh young coconut water
Method:
- Fill jar with young coconut water and add your water kefir grains. Stir with a non- metal spatula as the metal will damage the grains.
- Make sure the jar is airtight, and let it stand for 24 to 48 hours (the longer the brew, the more healthy bacteria you have cultured).
- Strain through a plastic sieve and fill bottles with the cultured coconut water. Make sure the bottles are airtight.
- Refrigerate for 1-2 days, and serve chilled.
- Variations: To make lemon or lime coconut water kefir, add 1/4 cup lemon or lime juice to 1 quart of coconut water kefir.
If you’re seriously interested in getting healthy, restoring your digestion and boosting your energy then check out my new comprehensive program Restore your Gut. In the program you get a ton of delicious, satisfying recipes as well as strategies that will help rebuild your intestinal flora.
REMOVE. REPAIR. REPLACE. RESTORE
Or join me on Instagram where I’ll be sharing more information, tips and recipes to help you live a happier, healthier life.


You must be logged in to post a comment.